
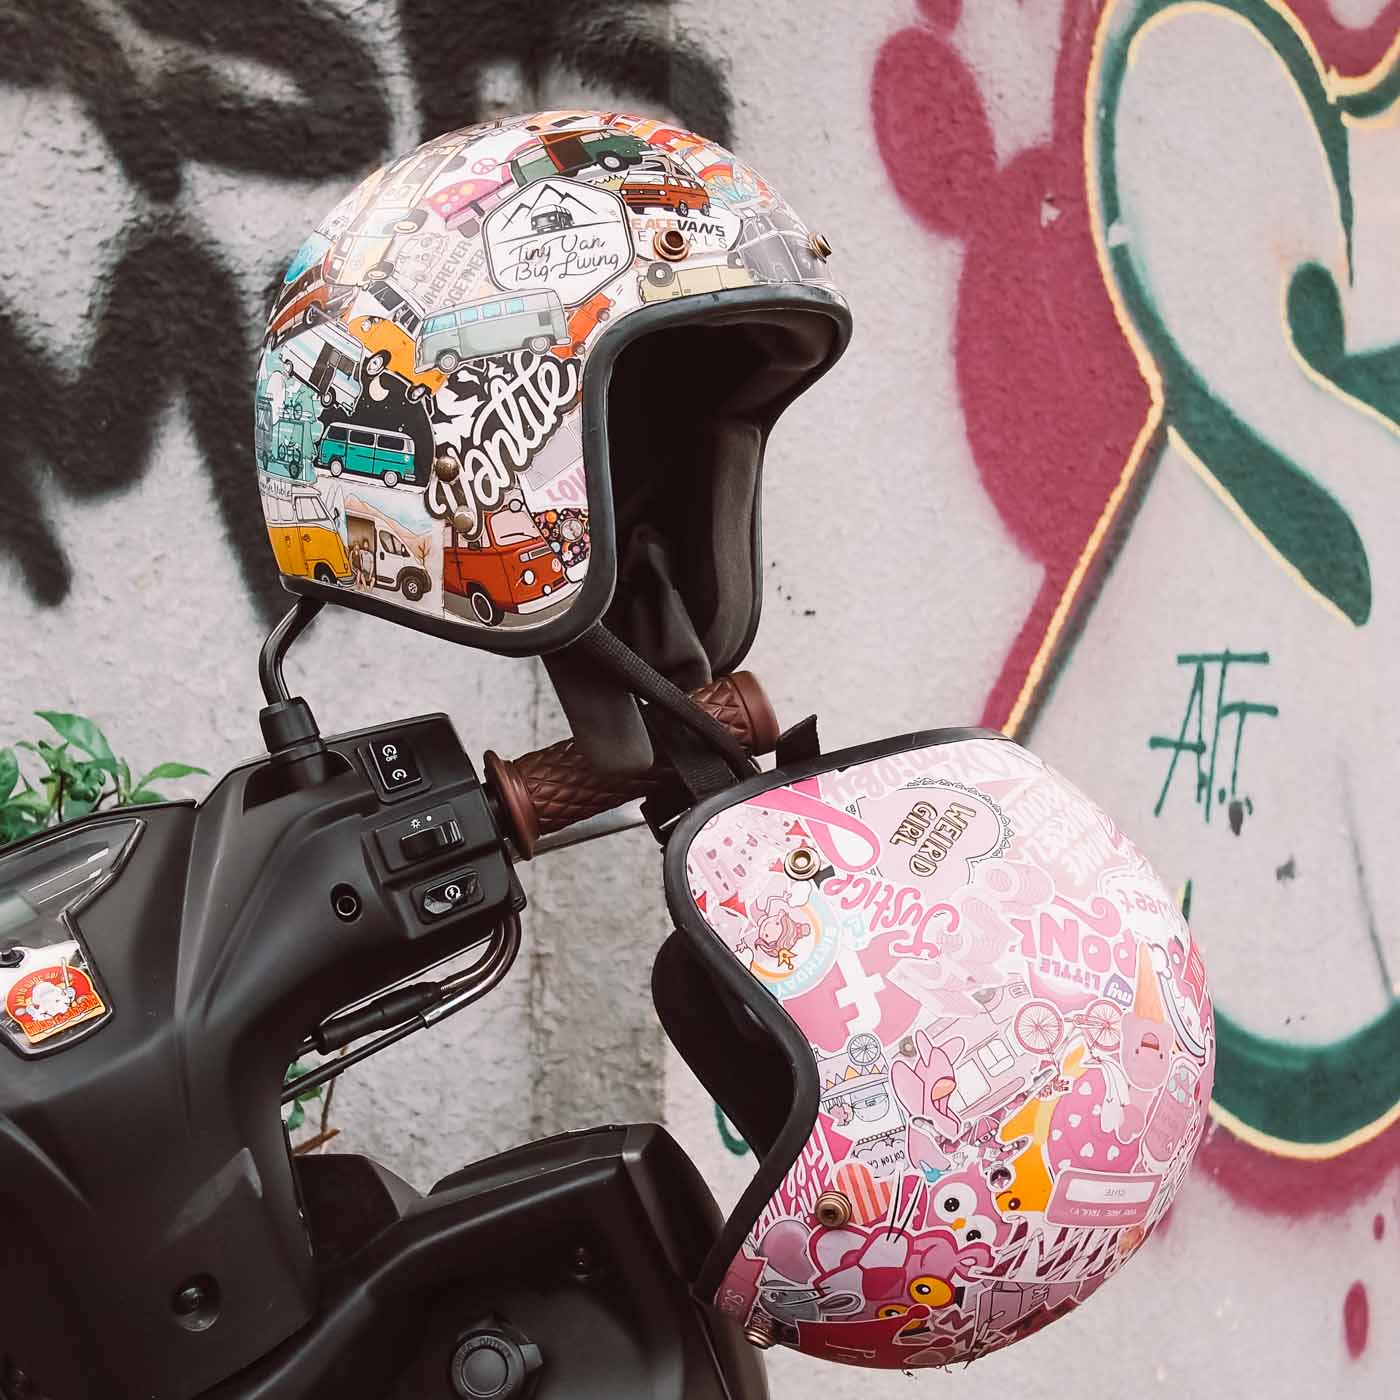
Helmets are not only used to ensure safety when participating in traffic, but also allow young people to be creative to express their personality and style. The use of stickers to attach helmets is very popular, please follow the article below to learn how to do it correctly.
1. Tools and materials need to be prepared
It is necessary to prepare all necessary tools and materials
Young people today are very fond of unique and different helmets that they decorate themselves. Using stickers to paste is very popular, with just simple steps you can
have your own hat right away.
It's strange. First you need to prepare all the tools and materials as follows:
+ Stickers
+ Scissors: 1 stick
+ Paper knife: 1 pc
+ Gas lighter: 1 box
+ Wipes and helmet cleaning.
+ Mini hair dryer
2. Number of stickers required
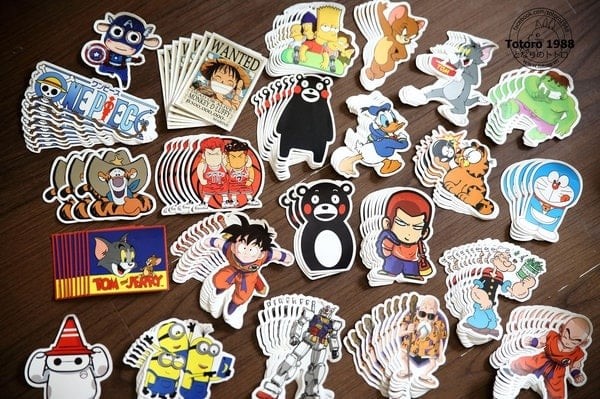
Choose to buy stickers according to your preferencesDepending on your preferences and style, choose the right sticker. Different hat lines will require different numbers of stickers such as:
+ Half-head helmet needs: 40 - 50 stickers
+ ¾ head helmet: 60 -70 stickers
+ Full face helmet: 100 - 150 stickers3. Implementation steps
After fully preparing, follow the instructions and notes below:
+ Step 1: Use a cleaning cloth over the helmet
First, use a soft cloth to clean both the inside and outside of the helmet. Note that you should not choose towels with fur.
+ Step 2: Paste a large sticker on the hat
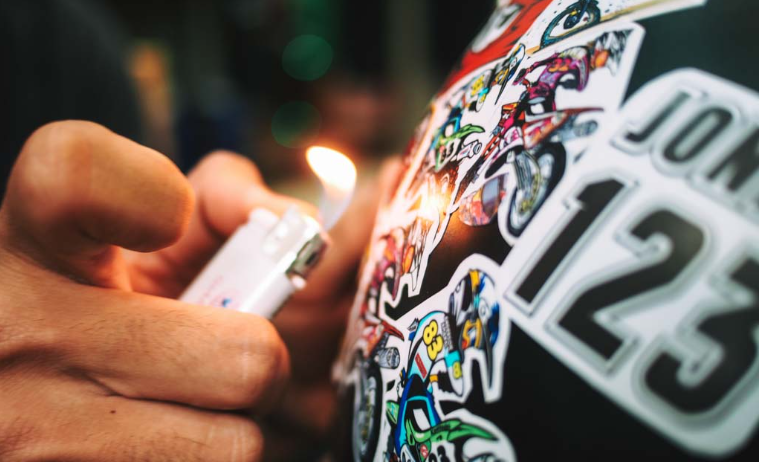
Then you choose large stickers and paste them on the hat first, remember to choose the correct location for the stickers. Sticking scatteredly will gradually balance. After pasting,
use a lighter to heat each patch to increase adhesion.
+ Step 3: Paste the remaining small stickers
Then proceed to paste the remaining small stickers into the empty spaces on the hat and continue to light the fire as above. Be careful not to paste too much as it will cause
confusion, pay attention to adjust accordingly.
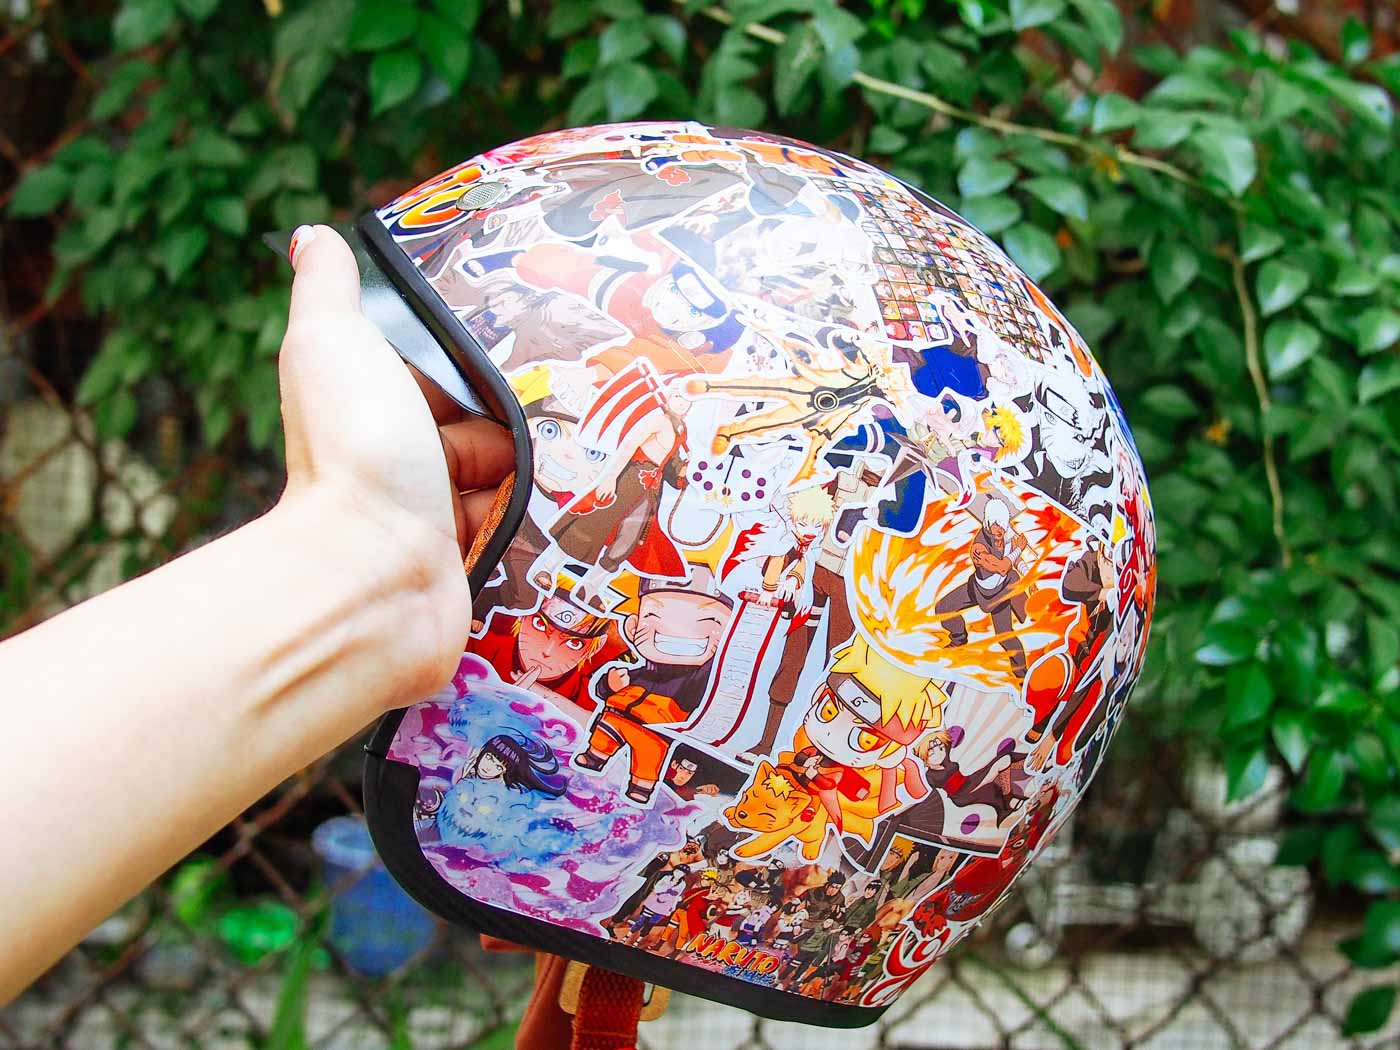
+ Step 4: Cut the border around the hat.
After gluing, cut around the border and button of the helmet with a paper cutter, then use a mini dryer to heat the entire helmet at once.
4. Notes to know when attaching helmets
After pasting each sticker, you need to heat it on the lighter to ensure firm adhesion.
Use the paper cutter carefully and accurately. Do not shake your hands because objects can easily deviate from the border and tear the patch.
In addition to the available stickers, you can also design your own stickers according to your preferences. Just a few sheets of paper, scissors, and a color palette and you can
make it yourself. Don't cram in too many different stickers with contrasting colors because this can easily cause confusion.

5. How to fix error stickers:

For error stickers, your job now is to skillfully handle them appropriately. Here you can paste over other pieces to cover the defective piece, this helps you fix the error as
quickly and easily as possible.
Or if you are a skillful person and have an "artistic mind". You can use your imagination and creativity to turn that error sticker into a perfect piece of sticker art on the helmet.
Above is the "secret" to applying helmets beautifully and properly for those of you who want to own a unique and personalized helmet.
It's very simple, isn't it, so what are you waiting for?
Start doing it today.

 Good luck!